Introduction, My Philosophy
I Didn’t go into as much detail as I should’ve in my last home-lab blog about 10 months ago. In this blog I most certainly will.
When expanding your knowledge in Cybersecurity, there is a point where hardware is a must. Hardware that may cost hundreds of dollars or even thousands will need to be purchased to expand your portfolio.
Fortunately for me, my Cybersecurity program has plenty of extra hardware that can be loaned to certain students for educational purposes. The hardware that was loaned to me included:
- Cisco Catalyst 3750-X Series Switch
- OptiPlex 7070, 64GB Ram, 512GB NVME SSD, Intel® Core™ i7-8700
- Dell Precision T1700, 32GB Ram, 512 HDD, Intel® Xeon® E3-1200
Using this hardware to it’s fullest potential is my goal with lab. Leaving no Gigabit untouched!
NOTE: This blog will not go into very intricate detail of each solution, future blogs/posts will be created for that purpose.
Type-1 Hypervisor
Proxmox Environment
When deciding what Hypervisors to utilize for my home-lab, there are plenty to choose from on the enterprise level. However, obviously I am not on the enterprise level at all. So my choice of Virtualization will need to be Open-Sourced and free.
Researching online and searching YouTube videos brought me to discover the popular and well-known Proxmox Virtualization Environment Software!
Huge props to creators like Learn Linux TV and Network Chuck for their amazing Proxmox Videos.
The Open-Source nature of Proxmox provided absolutely endless oppurtunity to whatever I need to use it for, whether it come to intricate High-Availability networks with an in-built SIEM and 24/7 logging, or just a box to spin up bridged Virtual Machines and Containers. Mwah! It was perfect.
Hell, I even utilize this platform in our Cybersecurity Program’s infrastructure to provide the most ease, cost-efficient, and compatible network implementation.
Here is a list of my services that I will go ahead and detail later in this blog.
Services
- Cloudflare Tunnels Proxy Service
- OpenVPN Server/ Containers
- Linux Virtual Machines + Templates
- Linux Based Game Server
- Windows AD Virtual Environment
- TrueNAS File Sharing, SMB, NFS
- Graylog System Logging Server
- Certificate Authentication Server
- Splunk SIEM Environment
- CasaOS Open-Source Cloud System
- PiHole DNS Ad-blocker
Windows Servers and Services
Windows Virtual Environment
Creating a Windows virtual environment was quite a difficult process in my experience. Numerous times I faced some incompatibilities, software instabilities, and more throughout the implementation period. But support for such problems was thankfully abundant!
However when diving into the Windows system itself, it is common knowledge just how many vulnerable vectors there are on such a system. But, it is these vulnerabilities and known technologies that Windows utilizes that should encourage anyone to create a Windows-based Virtual Network.
Some critical Windows-based services and solutions I often am learning include Active Directory, Kerberos, RPC, Windows Remote Management, etc.
Active Directory
Active Directory is a core installation in almost any enterprise network. So it just makes sense to create an Active Directory based environment within a Windows virtual environment. Utilizing the Windows Server Evaluation edition from Microsoft, I can create easy to spin up Virtual Machines for labs.
This process of learning can allow me to truly feel and understand what systems I may come across in my professional career.
Labs
As previously stated, labs are required for learning purposes, especially when considering advanced certification training such as TCM Security’s course catalog.
Labs from TCM Security’s courses such as PEH utilize this labs’ exact configurations. Allowing me to easily integrate hands-on courses into my environment!
Resource Info for a typical Windows VM:
- 32GB Host Storage, ide0
- 4096 GB Ram
- 4 CPU Cores, x86-64-v2-AES
- Utilize the VirtIO Drivers
Linux Servers and Services
Local Linux Repository
One of core functions of a network is the updating and patching process. This process is critical when it comes to the functionality of a network stack, the prevention of cybersecurity events, and (don’t forget) the compliance portion.
The main way I manage auto updating and patching in my Proxmox Server Environment is through well-known software such as:
- Apt Mirror
- Unattended Upgrades
- Nginx
- Crontab
In my post linked above, I went far more in-depth. So go check it out if you’d like!
Cloudflared Tunnels
On-Prem access to hardware and software is awesome and works decently well. However, what if you are like me, and many people, who need access to your environment everywhere you go. Turns out that Cloudflare Tunnels is more than perfect to solve that issue.
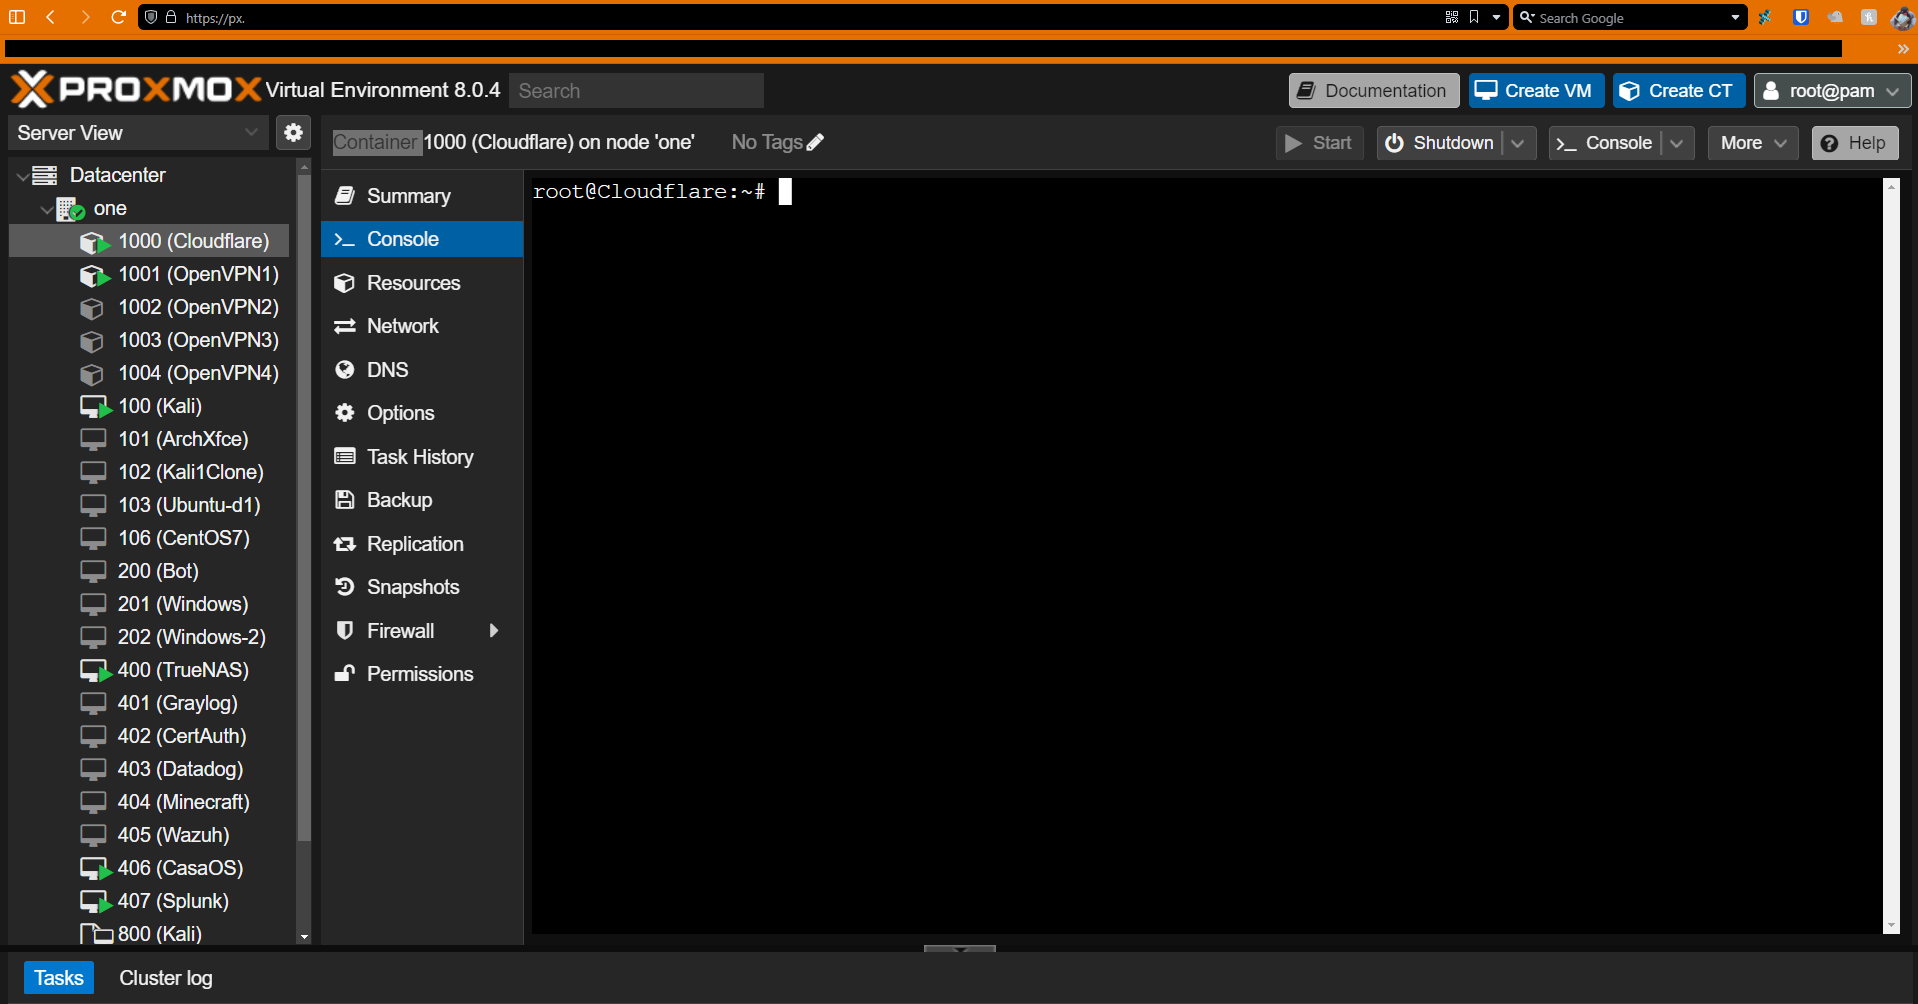
The Cloudflare Tunnels Service utilizes an already purchased web domain to route traffic from a Cloudflare server to my Installed Proxy inside of an LXC Container. This method also allows me to access my environment through a typical web user interface without revealing my public IP address!
You may be thinking that my environment can be easily hacked due to it’s open nature, however, you’d be wrong! Cloudflare Tunnels provides a very easy to configure 2FA email-based authentication for my services. Allowing only ME to access my resources.
Proxmox Web Tunnel
Just as an On-Prem Hypervisor Engineer would configure Proxmox (locally), I can mitigate this crutch and access the same console through my domain anywhere!
Website to access my Proxmox Environment: px.< >.cf

SSH Kali Tunnel
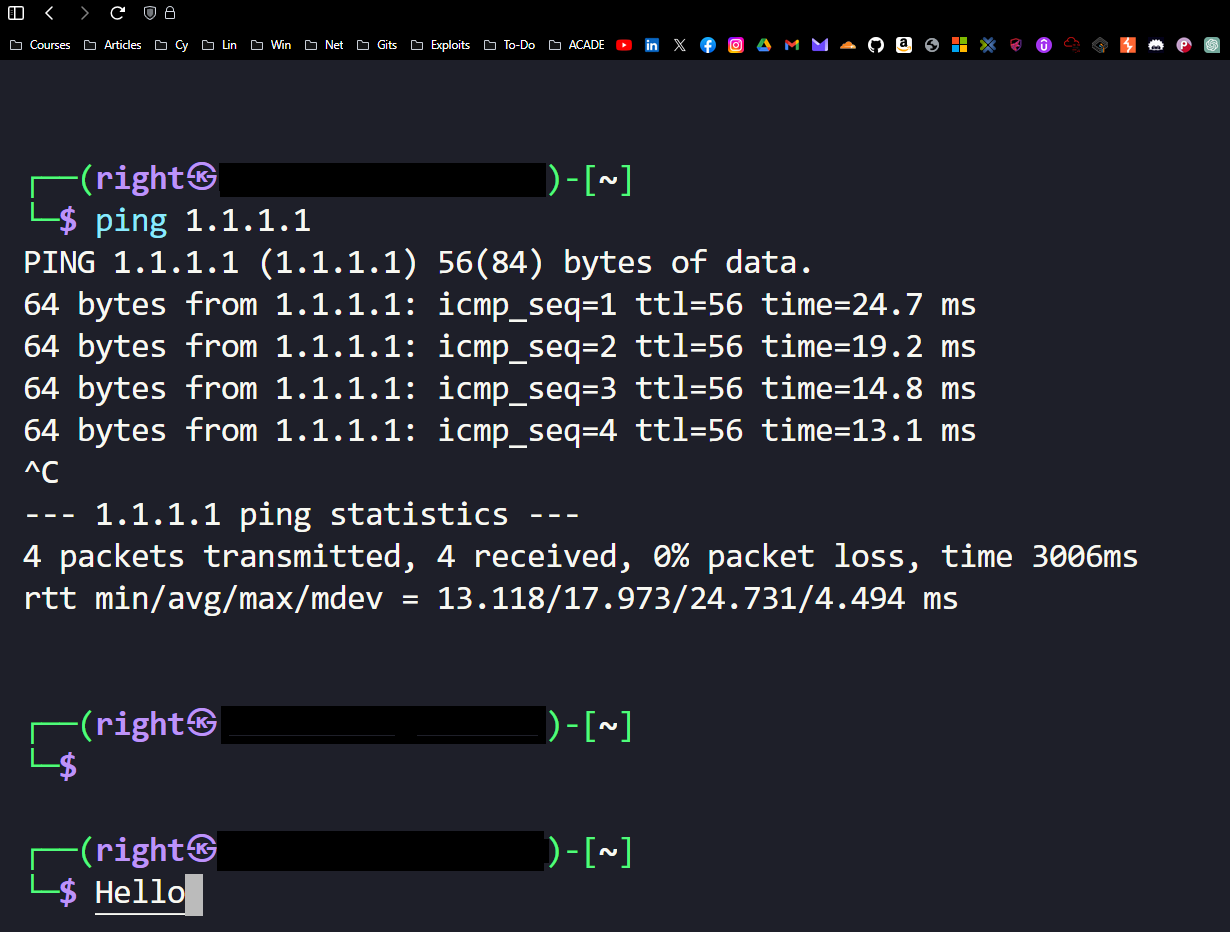
Utilizing a specially configured Cloudflare tunnel, I am able to render an SSH session via a web browser, Allowing me to access my Kali machine
Website to access my Kali Tunnel: kali.< >.cf

OpenVPN
When it comes to establishing a direct and private connection to my home network, a VPN is there to solve that issue. With that, I also can’t rely on a direct tunnel connection to many of my solutions, especially when considering SMB incompatibilities with Cloudflare Tunnels. So at the end of the day my pick in a VPN Solution: OpenVPN!
There are many forms of documentation out there assisting with the installation of OpenVPN, but what I found most helpful was Virtualize Everything’s quick and simply explained OpenVPN LXC Container installation.
This process brought me great success, especially after configuring simple router/firewall rules to allow communication with clients and my server.
VPN for Friends!
With my solution being in a container it meant I could easily replicate it, and I did just that.
Temporarily, my friends needed a working VPN for school as my district had been locking down on popular VPN software out there (likely just blocking their publically available IP’s).
The solution worked well and allowed some of my classmates to collaborate with some networking projects hosted on my Proxmox Virtual Environment as well!
TrueNAS
Thinking of a Network Attached Storage solution was pretty simple. TrueNAS (formerly FreeNAS) was simply the best and easiest solution to implement in my environment. Their open-source and highly documented nature made it a great first project.
Videos from Lawrence Systems proved to be infinitely helpful in the journey through TrueNAS administration/ configuration. However, choosing the correct NAS Operating System within the TrueNAS platform had to be made.
There are multiple version of TrueNAS such as Truenas Scale, and TrueNAS Enterprise. I have worked with Scale in the past especially when testing it in our Cybersecurity Program’s Environment. But to be specific, I utilized TrueNAS Core for my primary Operating System hosted on my Proxmox Hypervisor.
Specifications
- 2 CPU Cores, x86-64-v2-AES
- 16GB RAM
- 32G Host OS Storage, scsi0
- 2TB Attached Hard Drive Storage, scsi1
SMB Sharing
I primarily use the SMB share service in my TrueNAS environment due to it’s ease of use and decent reliability. Also utilizing SMB for my Proxmox ISO storage in the process, which allows expandability in my environment.
Configured SMB Shares
- MP4, MOV, Movie Vault
- Critical File Backups
- Virtual Machines
- ISO File Storage
- Game Server Backups
Linux Virtual Machining
Linux is the core of everything in my lab, so utilizing Linux Virtual Machining is the most important part of my home-lab. Being able to utilize instantaneous Virtual Machines provides me with the ability to learn and develop real, hands-on knowledge in Linux Administration, Systems Administration, System Hardening, etc.
Templates & Templating
Templates is a feature provided by Proxmox which can create a direct copy of a Virtual Machine and allow a user to copy said VM as many times as needed. This is specifically useful for times when I break my Linux Virtual Machine or times where I need to backup my already configured Virtual Machine Template.
I use this feature especially when designing my Active Directory Environment - as Windows virtual machines are specifically a little more difficult to configure than Linux.
Game Server Curating
Another use of linux is a simple way to create, host, and expand game server for personal use or even use for friends! These game servers offered 24/7 reliability and very good performance (possibly due to linux :p)
Splunk SIEM Environment
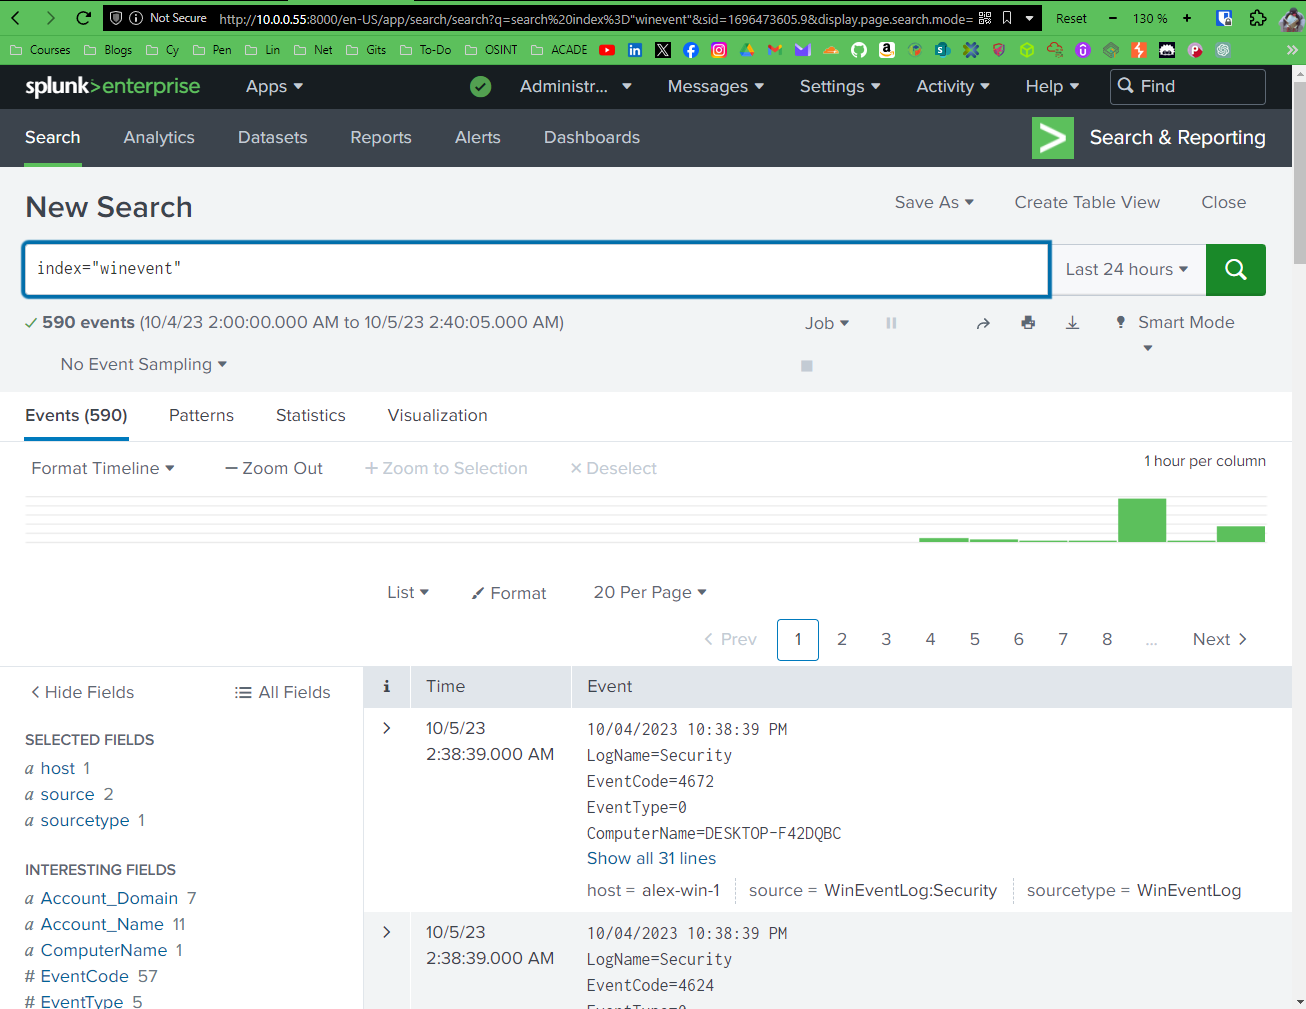
Splunk is a technology often used as a SIEM environment and is utilized by Cybersecurity Analysts. The whole idea of a SIEM is just log management and searching. You have an agent installed on an endpoint device and a primary server that hosts your forwarded logs, search engines, indexes, etc.
In this lab, I tinker with Indexes, User Management, Agent Configuration, Analytics, Alerts, Reporting, and much more.
Utilizing this lab to learn Splunk along with their certifications is extremely powerful and also helps me build strong foundational knowledge in other SIEM technologies like LogRhythm, SolarWinds, etc.
Overall, this project/experience will bode well with the many other projects I have worked on, giving myself a good PR rep (hopefully) for employers looking for Cybersecurity Analysts.
Systems configured with a Splunk Agent:
- Windows 10 Hosts
- Windows Server 2022 Host
- Kali Linux 2023 Host
Splunk Dashboard:

Graylog System Logging Server
When reviewing some system logs, I decided to go with the simple Graylog solution. This solution although surface level, allowed me to log raw system log data on numerous systems. These Logs can be analyzed and extracted in many ways that is highly documented on the internet.
Shoutout, again, to Lawrence Systems for his very in-depth video on the installation process of Graylog
Systems Configured to Forward Logs:
- Synology RT2600ac Router
- Proxmox Virtual Environment
- TrueNAS
PiHole DNS w/ CasaOS
For all my active devices on my network, I’ve configured a PiHole docker container within the CasaOS suite on a Ubuntu Server 22.02 Linux Virtual Machine.
All this DNS server does is strictly adblocking and some local domain shenanigans. Allowing my router to take the domain (router.local) and my Proxmox node to take the domain (prox.local).
As for adblocking, it takes maintained repositories of known advertising domains and filters them to not render on any browser, allowing all my devices from an Amazon Show, to my iPhone, to my Computer to block 80% of all ads.
Future Plans
Truthfully, my future plans revolve strictly with the addition of new hardware and technology. However, I’ve saved up a couple thousand dollars that I could use a portion of into my environment!
But taking hardware upgrades into account, many expansions could be implemented such as:
- Windows Enterprise Simulation Network, Including IP Phone VM’s
- VLAN configuration w/ Enterprise Windows Network
- Proxmox CEPH + HA implementations
- 3 Node Proxmox Hypervisor Cluster
- Malware Analysis Station (Not included into Proxmox)
- Guacamole On-Prem implementation
- Home-made practical File Integrity Monitor
- On-Prem Media Server
- Expansion on Splunk configuration
- Implementation of RAID + 3-2-1 Backup Solution
- Practical Ansible Setup and Utilization
